
The best way to wash a woolen garment is by hand in cool water with only gentle squeezing to get rid of the excess water when done. This, of course, is a giant pain in the butt, so countless folks have resorted to throwing their woolies into the washer to save time (washers are a great invention, right?). However, woolen garments are notorious for felting in the washing machine and which means that they end up permanently shrunken and thus unwearable. The combination of heat and agitation in the washer roughs up the overlapping microscopic scales on the surface of each wool fiber and they ratchet ever more tightly together and soon get stuck that way. Bummer.
Superwash wool to the rescue! Superwash wool has been treated so that the scales are not so responsive to heat and agitation and thus can be washed in the washer (usually on a cool, gentle cycle, we don’t want to get too crazy after all). Superwash wool is an absolute miracle for hardwearing items like socks (that really do need to be washed often). Yay, problem solved!
But sometimes, as knitters, we really do want a little felting (or wool fiber sticking together) action in specific places. One of those times is when one is working a garment in stranded knitting (for example, Fair Isle knitting) and are preparing to cut open a steek. Knitting a narrow waste panel (a steek) that will be cut open later enables the knitter to create the piece by working from the right side only by knitting entirely in the round. The natural stickiness of wool fibers combined with the nature of the knit fabric itself prevents the raw edges from unraveling too much when cut. Thus, THE yarn of choice for knitting traditional Fair Isle garments is untreated wool which facilitates the stabilization of the raw edges of a steek. Hmmmm….does that mean one can’t use superwash wool yarn for stranded color work that involves a steek? It’s been treated to prevent felting, right??
Yes–superwash yarn has been treated to prevent felting in the washer. And: NO–you can absolutely use superwash yarn, knit some color work, make a steek, felt it and cut it open beautifully. Follow along with me on a recent project I designed for a steeking clinic that does just that!

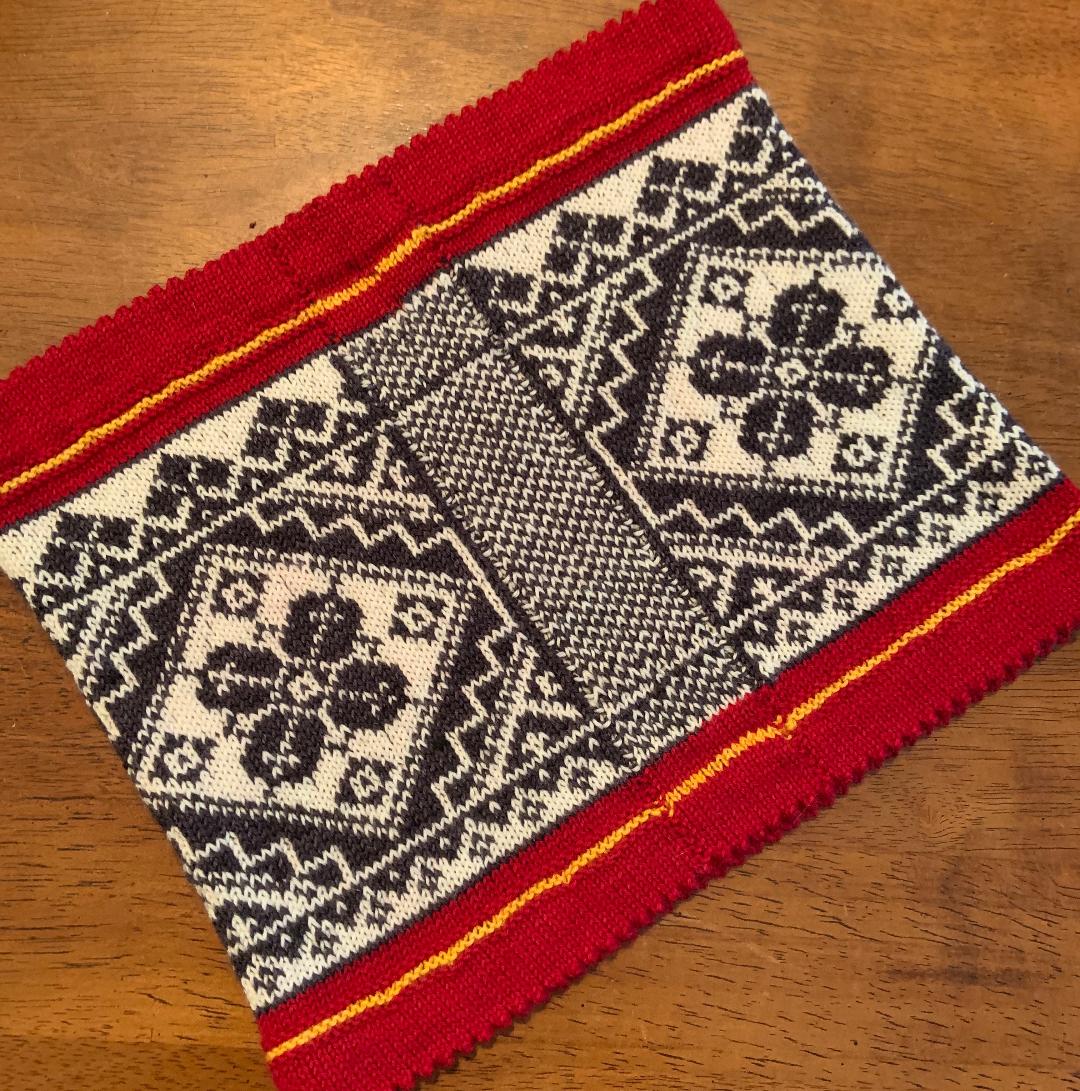
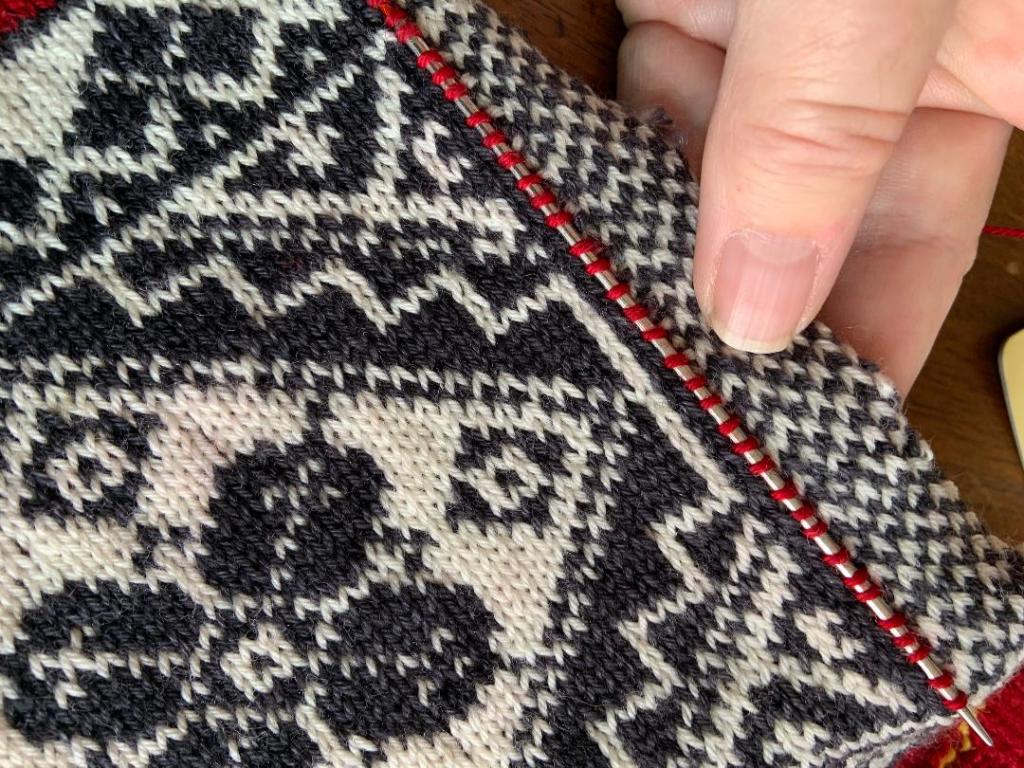
This is a quick cowl pattern I designed for folks to get some practice with stranded color work and making (and cutting!) a steek in a smaller project before committing to a cardigan or other larger piece. You can find the pattern for this MKAL in my Ravelry shop, it will be available to the public by the end of May, 2020. As shown, it is knit in some lovely superwash yarn from Olive and Two Ewe in fingering weight. You can see my steek in the center on the right side above.
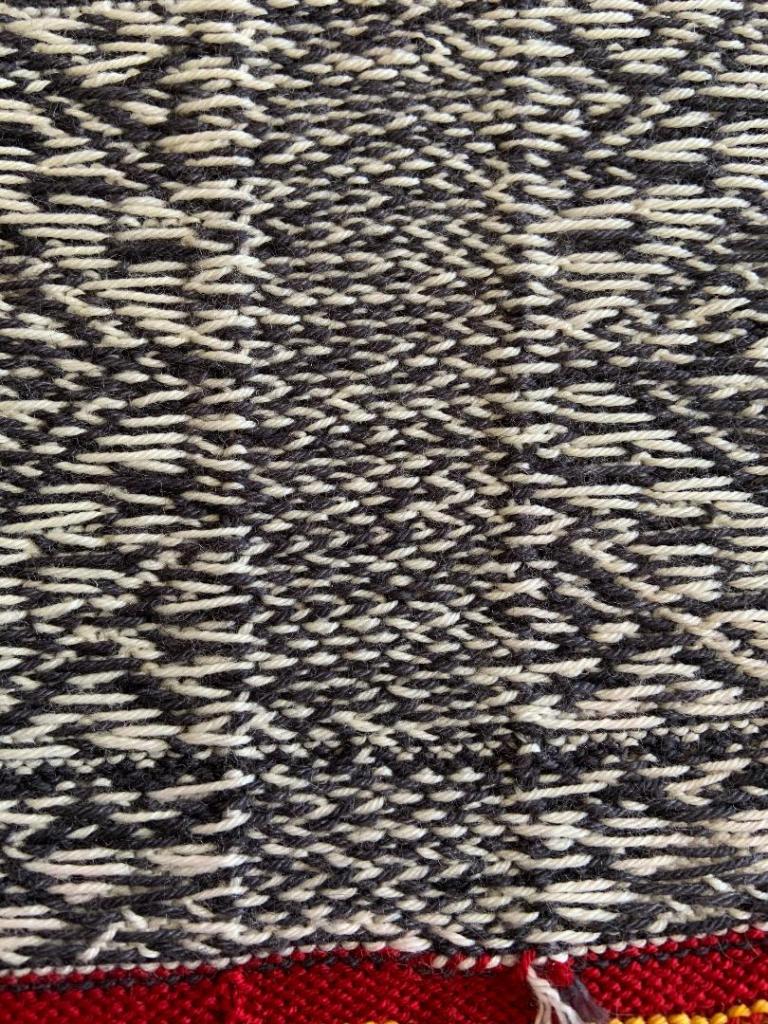
Here’s the steek from the back. There’s no denying that superwash yarn is slicker or not as sticky as untreated yarn so I am going to stabilize the steek before I cut. Also, my steek is wider for this superwash yarn than I would design for untreated wool. And, to be honest, even knitters using untreated woolen yarn occasionally stabilize their steeks before cutting; it’s better to be safe than sorry, after all. I’m going to use 2 different techniques here with this steek.

My first stabilization technique is with needle felting. “But, but but… superwash won’t felt!”, you may be muttering right about now! Scroll back up and check what I said: superwash wool won’t felt in the washer. In this situation I’m going to get the wool fibers to stick to each other by dragging them down over and over with a needle felting punch. This is a mechanical felting technique and is a very easy process, it just takes a few minutes of carefully punching the needles through the steek over the mat and your steek is felted in that area. Stabilization complete! If you’d like to purchase your own needle punch and mat, just click the previous links to the products at Amazon where I purchased mine.

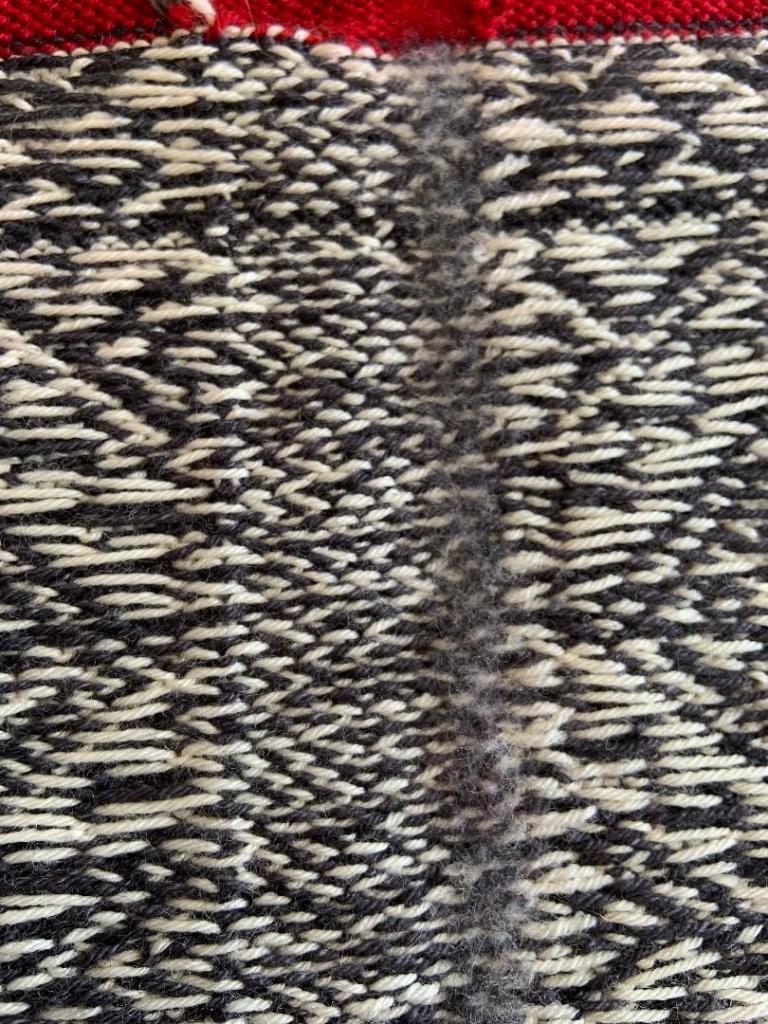
Here I have needle punched about half of my steek. From the back it looks extra fuzzy or cloudy in that region.
And here is the entire steek needle felted on one side. The cut will be in the middle so I do need to stabilize both sides. Next, I’ll try sewing a line of zig-zag stitches with my sewing machine.
I chose a zig-zag stitch so that there is a little stretch to accommodate the knitted fabric. Next up: cutting the steek!!

Here I go! Cutting up the middle with some good sharp scissors!

Both stabilization techniques worked equally well. I preferred the needle punching/felting technique. It just seems to be more organic with the knitted fabric. I did have a small outlay for some new, specialized tools but I feel I will certainly use them again in the future.

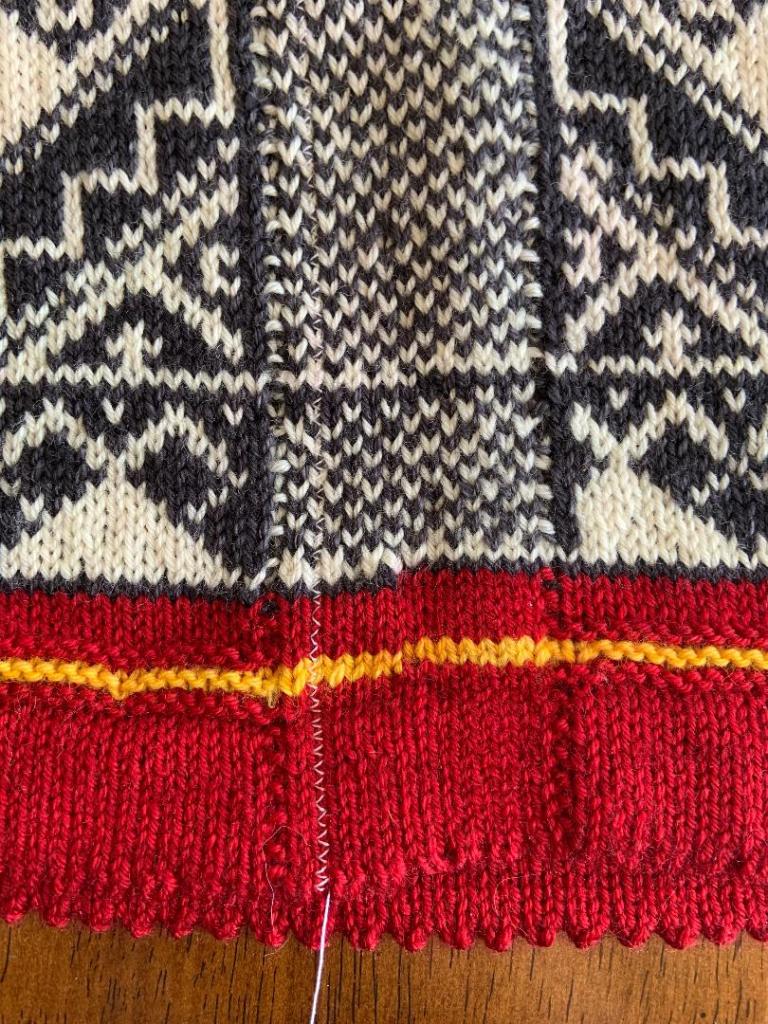
With a crochet hook, I have pulled some yarn through at the edges of the steek. I knit in a one stitch wide garter stitch column and the “indents” of that column are my guide for where I insert my crochet hook and pull up the yarn.
Here’s the whole row of picked up stitches as nice and neat as you please.

I finished this piece with a folded picot hem. I’m attaching to the inside here. So for this piece, the raw edge of the steek is completely covered. Sometimes I just put on a button band or placket on the front and leave the raw edge visible on the wrong side.
There you have it– you absolutely can felt superwash wool! Just not in the washer 😀

I need to take a class….still looks scary! You make it look so easy. Thanks!!
LikeLike
Thanks for this great idea! I used this method to knit a cardigan for my 8mo son in superwash and it worked wonderfully.
LikeLike