
I wrote previously about picking up stitches at the edges of a heel flap–a bugaboo for many knitters. The story there was to make a 1 stitch garter edge on both sides and then just pick up the purl “bumps”. Easy-peasey! Problem solved! Well…for sock heel flaps, anyway. But what if you have some other edge where you have to pick up stitches? Sometimes purl bumps don’t just present themselves or you need to pick up more stitches than the bumps or you have a slanted or curved edge–yikes! Now what?
Well, that’s one of the few times I bust out a crochet hook to help out. A crochet hook is an absolute necessity for this kind of pick-up, nothing else will do. It should be one of an appropriate size for the yarn being used as well, so you will need at least a couple of different sizes in your notions bag.
Start by orienting your work in your hands with the right side facing you. You can work with a detached length of yarn or the working yarn of the piece. If it’s the working yarn it will need to be located on the right side as if you were knitting (if you wish to follow my instructions as pictured below. You can flip them and do it in the other direction easily, but I’m not showing photos of that).
Here I’ve got a slanted piece that I knit in a modular shawl I’m currently designing. I wanted to pick up stitches on the edge and knit in another direction. The purl bumps were just not very prominent because of the slant and when I did manage to pick them up, I didn’t get enough stitches to accommodate for the stretchiness of the slanted portion so the resulting knit caused some ugly buckles and wrinkles. So I ripped it all out and picked up more stitches with this method. Bonus: it looks neater too. You can see I have a line of K2togs at the edge and I’ve already picked up a few stitches.
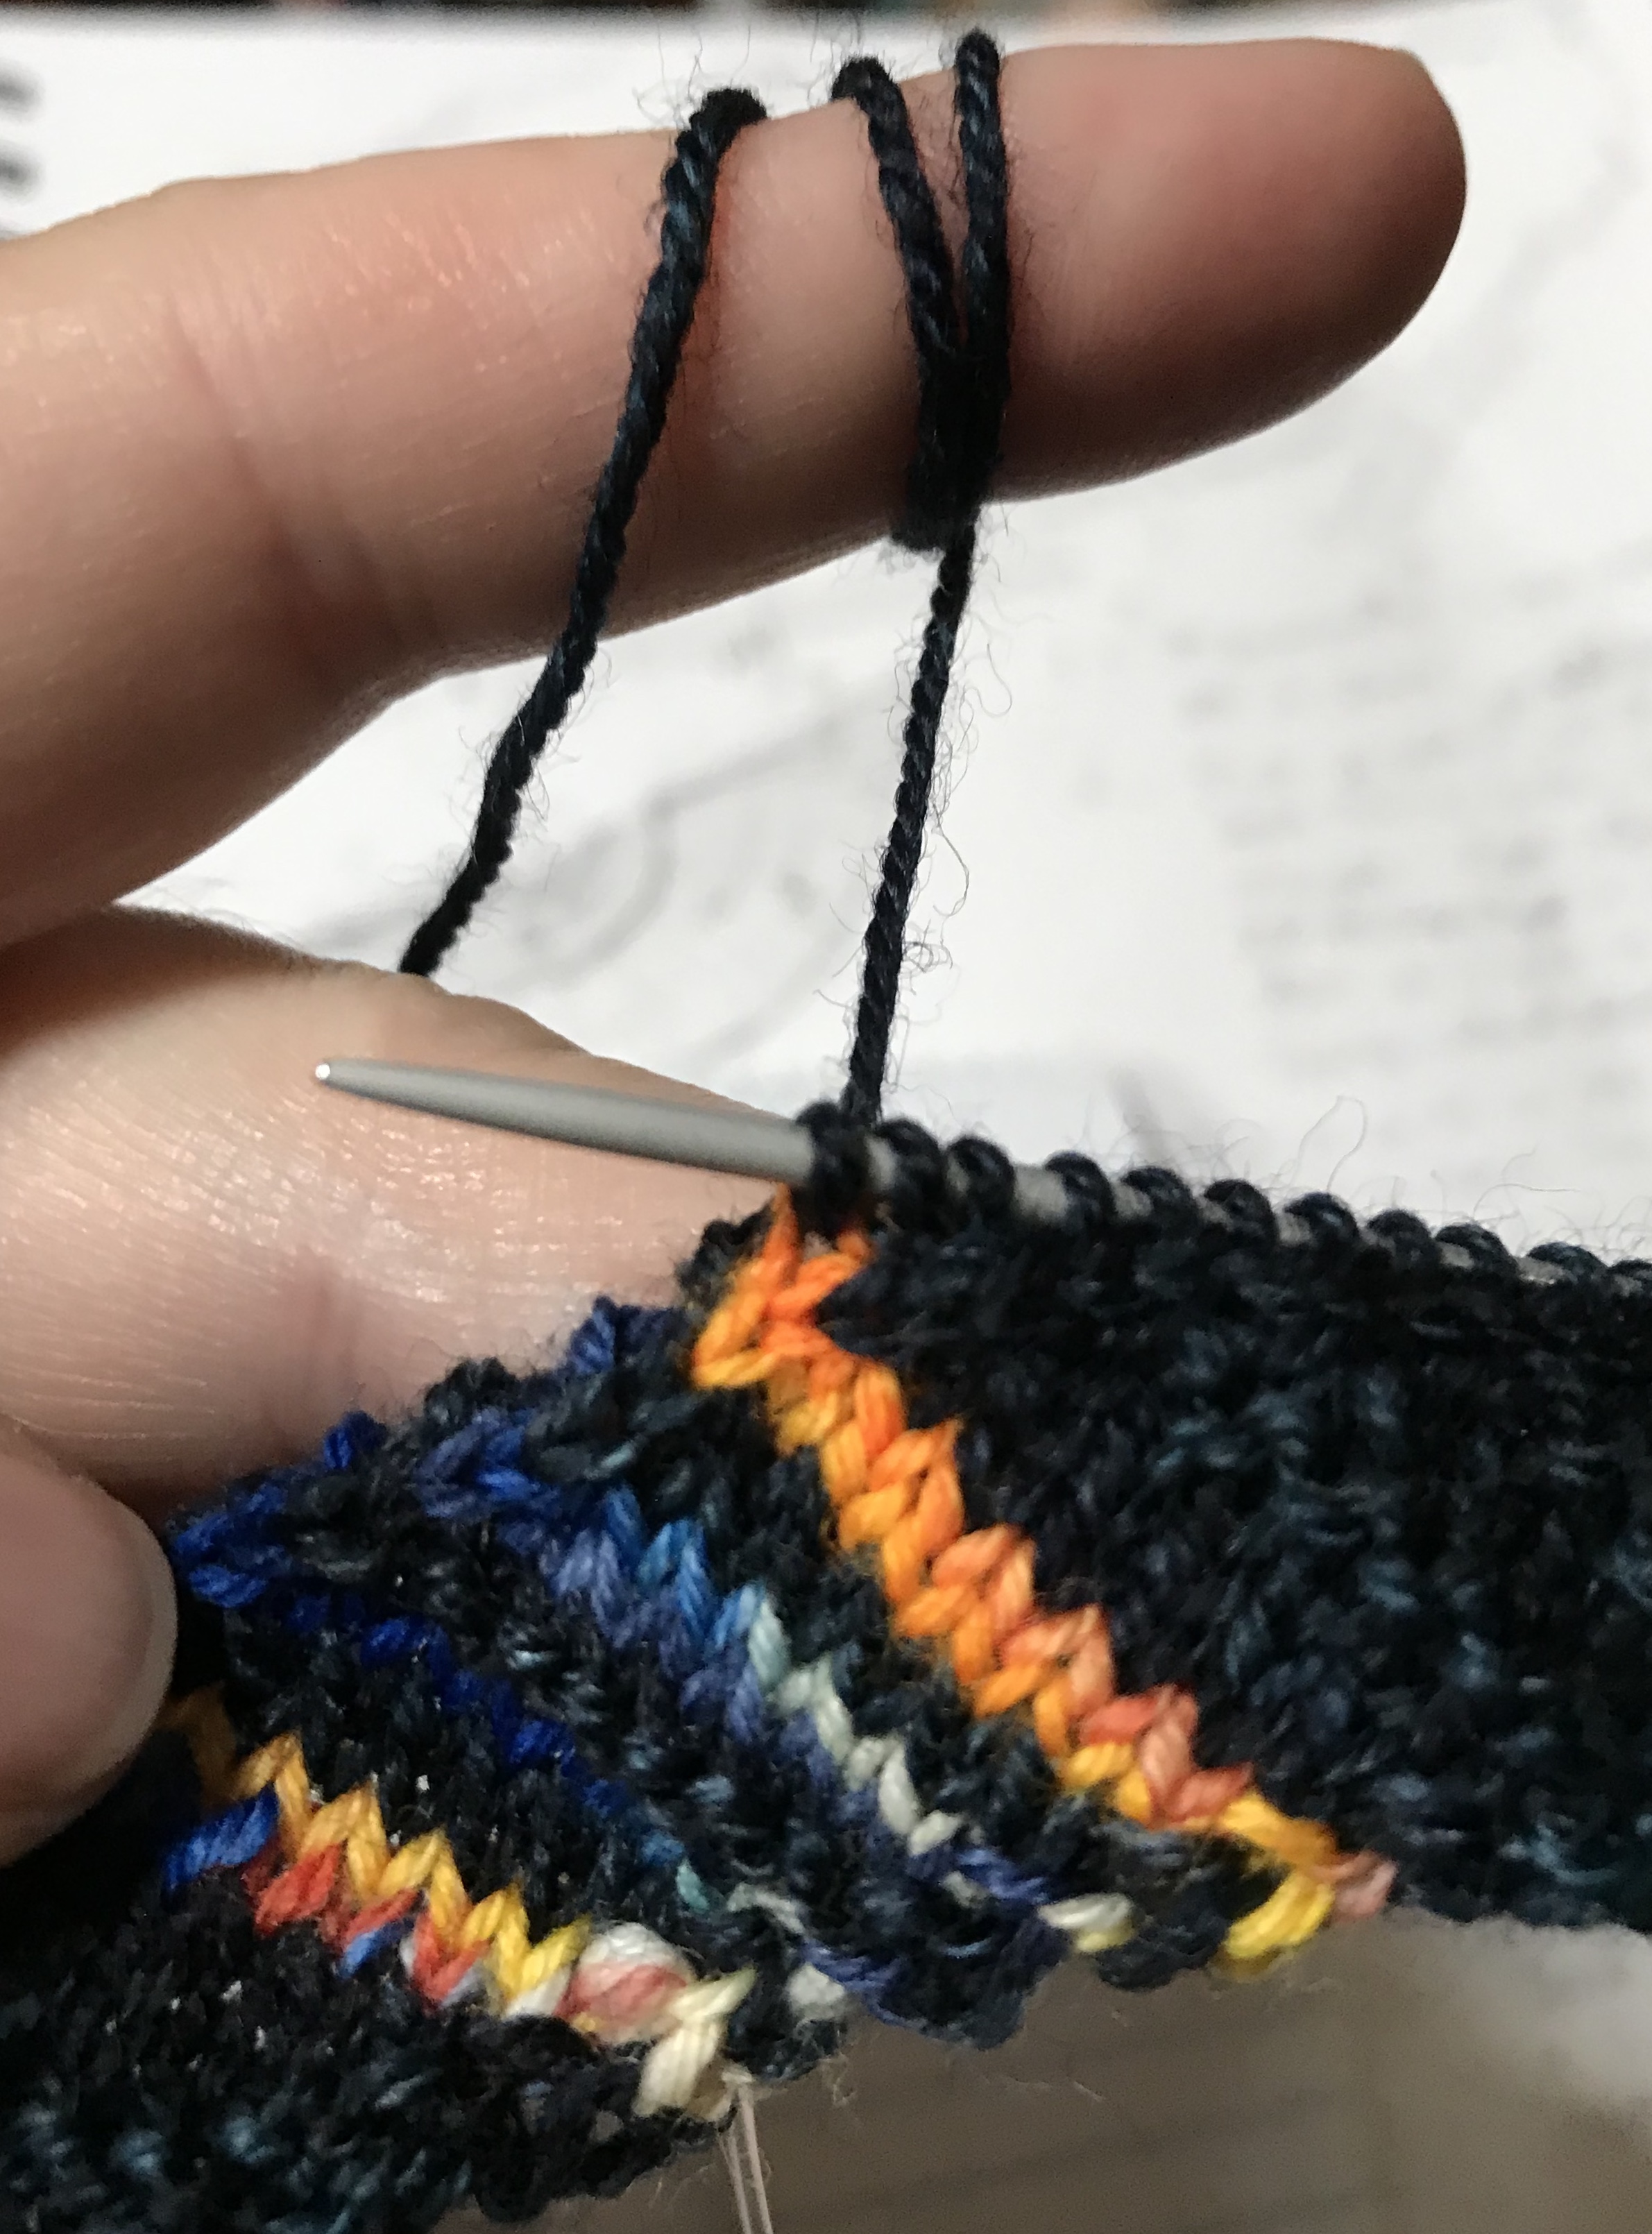
The first step is to insert your crochet hook in the next stitch or hole from the front or RS of the work to the back or WS of the work (this is essential!). I’m keeping the insertion point just above my K2togs as a handy guide…

Like so! And then grab your yarn and pull a loop through:
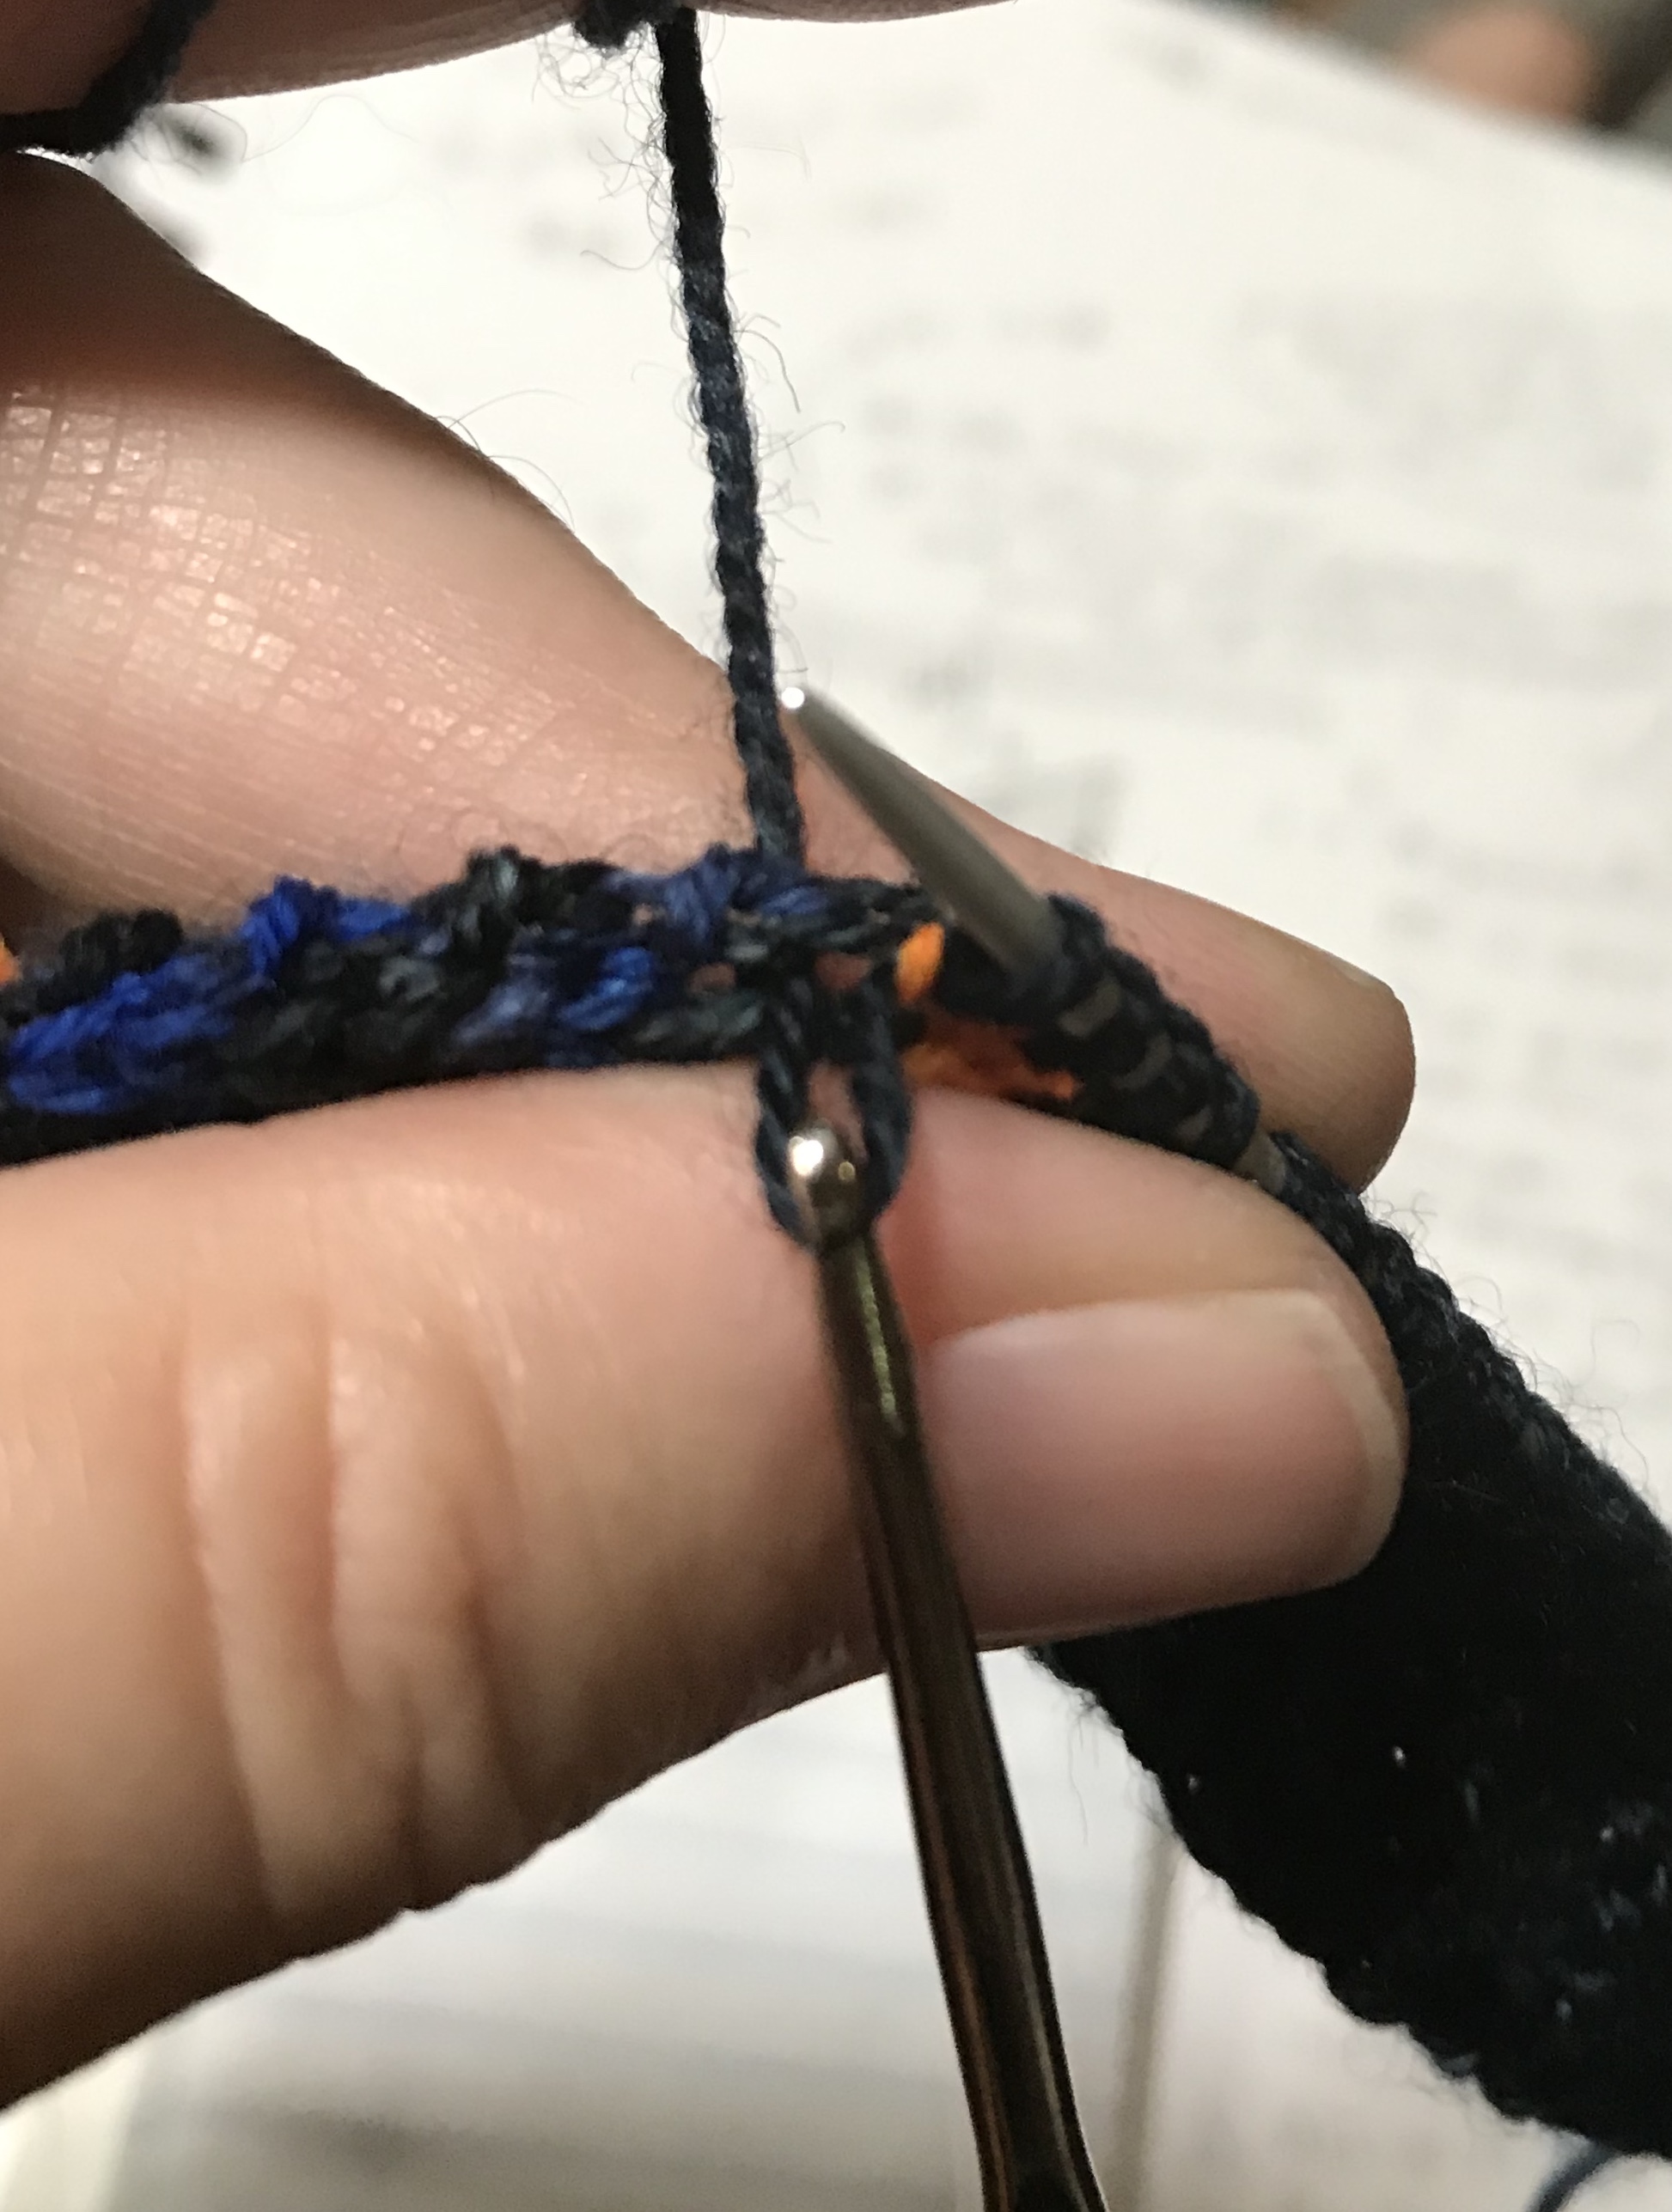
I probably have awful crochet technique, but I managed to get a loop. Then, pull it out a bit and place it on the right needle.

And that’s pretty much it! Keep repeating until you have as many stitches as you need. Try to keep your interval between pickups the same and loop them up on the right needle the same. For slanted or curved pieces this might not be entirely possible but do the best you can. If you are going to be knitting ribbing from this pickup row, that will function to hide some of the unevenness. This technique makes for a very neat edge and is suitable for picking up stitches for a neck band, for instance. If you are worried that your selvedge edge is messy, this technique essentially hides it to the back for you–another plus! Just make sure you pick up your stitches with the right side of the work facing you.
