
An important part of my crafting has in recent years has involved posting and reading others’ posts on social media. Such a source of inspiration and great way to meet new friend and learn about their crafts or share tips or just be supportive. Recently I was amazed and envious of the exquisite little handmade pincushions that my Facebook friend, Anne Schmidt, posted on one of our group pages. I was just entranced– I asked a bunch of questions and she answered with more and detailed answers culminating in her taking multiple photos AND videos outlining her entire process from start to finish that she then direct messaged me. Wow!! I was so appreciative (can’t wait to make my own pincushion after my Christmas knitting is done) and quickly concluded that these photos should be more widely shared and Anne graciously agreed to let me post a tutorial of her work. Anne has taught before in one-one-situations; but had not put together a lasting tutorial on a blog.
I know many of us pursue multiple crafts and enjoy switching things up from time to time so I’m happy to share this. Without further ado, I present Anne’s method of making a handmade, embroidered pincushion employing a bottle cap or small plastic cup as a base (good recycling effort; those caps are otherwise difficult to recycle!), felt scraps, pearl cotton, batting, stuffing, quilting fabric scraps, seed beads and the like. Note: these are perfect little stocking stuffers and gifts and don’t take that long to make. I will use Anne’s comments as captions to the photos and videos she sent me in our Messenger chat.
An important part of my crafting in recent years has involved posting and reading others’ posts on social media. This has been such a source of inspiration and a great way to meet new friends and learn about their crafts or share tips or just be supportive. Recently, I was amazed and envious of the exquisite little handmade pincushions that my Facebook friend, Anne Schmidt, posted on one of our shared crafting pages. I was just entranced by them– and so I asked a bunch of questions and she answered with more and detailed answers culminating in her taking multiple photos AND videos outlining her entire process from start to finish that she then messaged to me. Wow!! I was so appreciative (and inspired–I can’t wait to make my own pincushion after my Christmas knitting is done) and quickly concluded that these photos should be more widely shared. Thus, Anne graciously agreed to let me post a tutorial of her work. Anne has taught before in one-one-situations; but had not put together a lasting tutorial on a blog so despite this being a knitting blog, I thought it was a great idea.
I know many of us pursue multiple crafts and enjoy switching things up from time to time so I’m happy to share this. Without further ado, I present Anne’s method of making a handmade, embroidered pincushion employing a bottle cap or small plastic cup as a base (good recycling effort; those caps are otherwise difficult to recycle!), felt scraps, pearl cotton, batting, stuffing, quilting fabric scraps, seed beads and the like. Note: these are perfect little stocking stuffers and gifts and don’t take that long to make at all. I will use Anne’s comments as captions to the photos and videos she sent me in our Messenger chat.
Let’s start! Note: do take the time to listen to Anne narrate in the videos. She adds more info than the minimum that I’ve added in captions.

Pick your base! “Various lids–water bottle, milk jug, medicine bottle and aerosol can. I’m going to use the yellow milk cap.”

“Tracing the cap for the base…”

“Cut and ready. Next, the sides.”
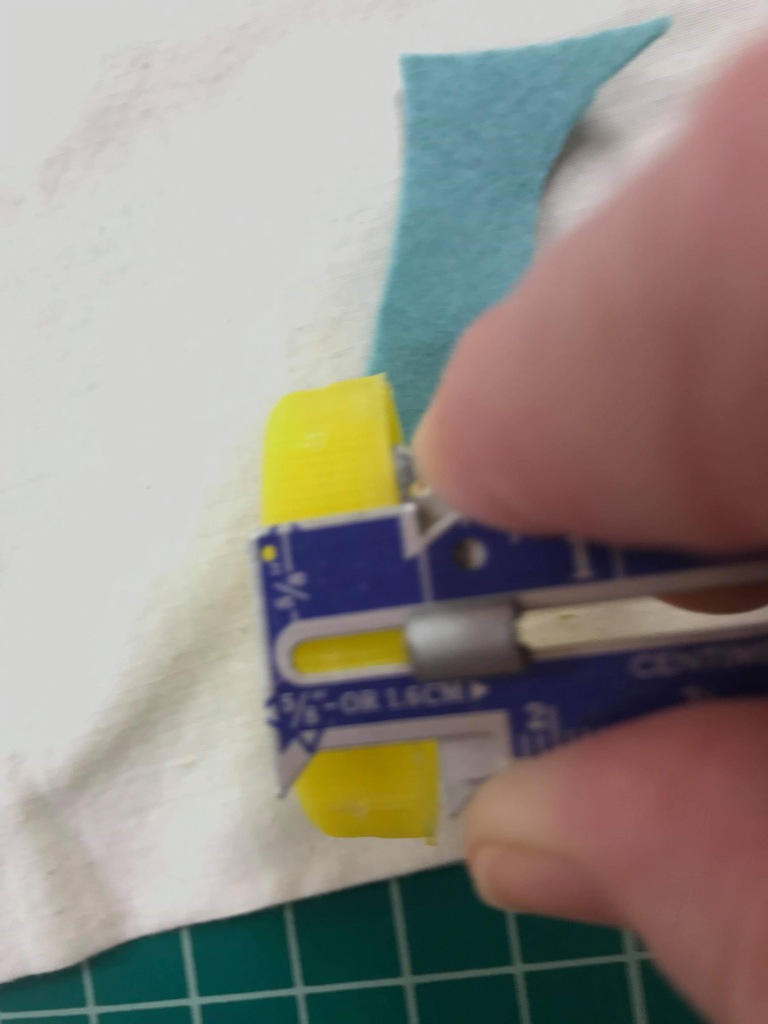
“Slightly larger than 1/2″. So next I’ll measure and cut a strip long enough to go around the edge of the cap.”


“It doesn’t matter if this is a tiny bit wide.”

“Next, I trim this strip to size. I want the edges to butt against each other.”
“Next, I cut a top, larger that the bottom by 1/3 to 1/2. How big you make this determines how rounded the your cushion will look. I’ve done muffin tops, nearly flat and very flat.”

“Here are all the components gathered in one place. I’ve included a circle of white wool/cotton batting which I may or may not use.” Anne cut the batting in case the top piece of felt was too thin or transparent. “Since I’m going to use the turquoise felt, I may not use it. Also on the left is a scrap of all wool batting for stuffing.”
“I’m thinking of using the tiny hexagon rosette on top as part of the decoration.”
“Here, I’m joining the edges of the collar.”
“Time to make the pouf next.”
Pouf made, time to attach:

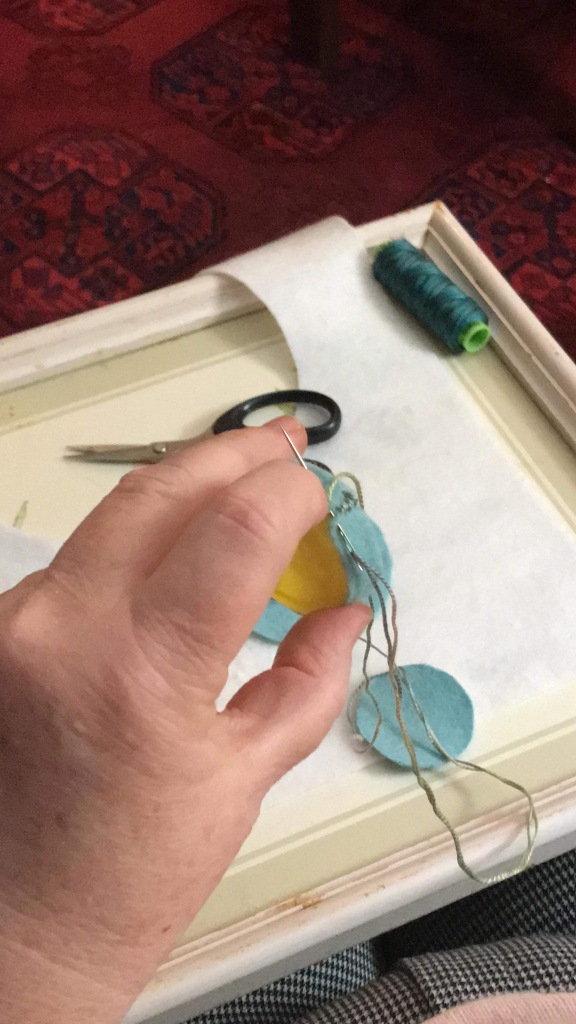
Pouf is attached–time to decorate. “I’m beginning to appliqué this tiny rosette to the top using sewing thread and a fine appliqué needle.”

“I’m adding French knots and Lazy Daisies now…”
“Now I’ll do a bit around the edge.
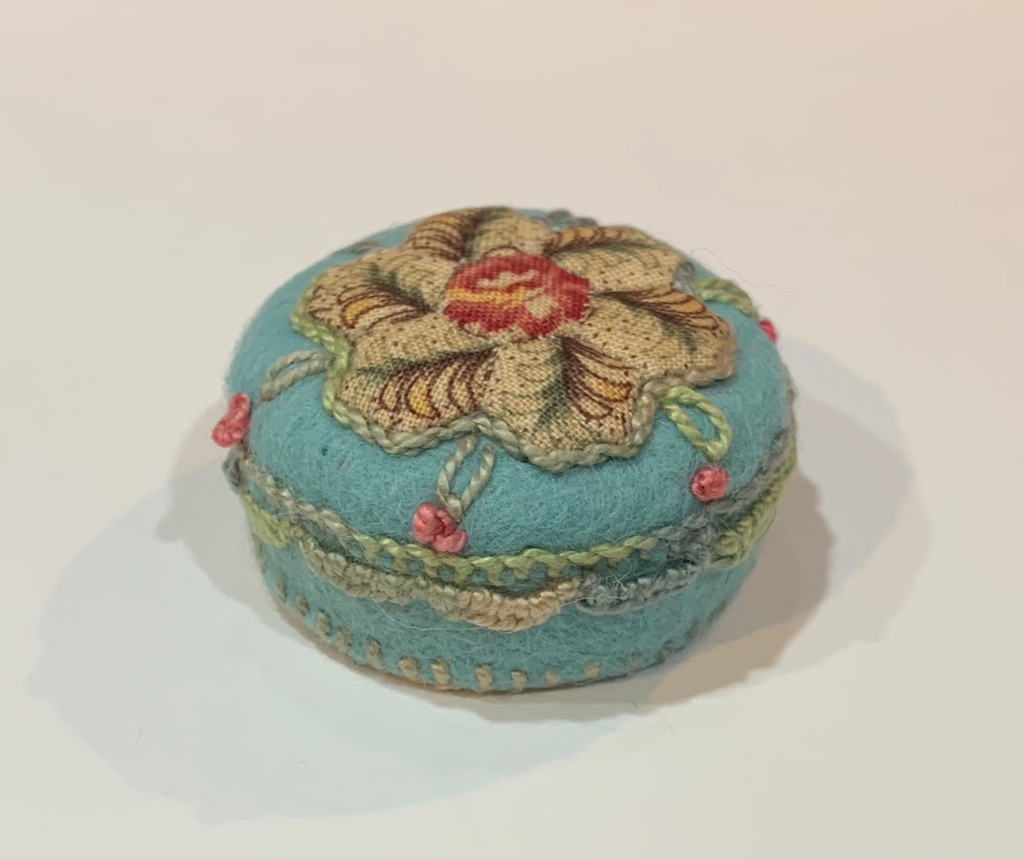
“And… I’m tempted to call this one “Done”.”

Now wasn’t that an interesting and wonderful little thing to make? Many thanks to Anne Schmidt for taking the time to share each step of her creative process!

Gee, I think I’ve seen this before… It looks good. Anne
Sent from my iPhone
>
LikeLike
🤣 good! I’m glad you approve!
LikeLike
Love this, I also put holes in the cap and insert some elastic for a ring to hold it on my finger while I sew on the sewing machine or hand sew, I live this little guy❣️ Thanks for sharing
LikeLike
Hello, nice to see that, so beautiful use of a bottle cap. I have done it too, but slightly different, as a pushpin ring.
LikeLike
Looks great, but is there a bit missing in the instructions? After stitching round the circle how do you pad it and attach it to the base?
LikeLike
Hi, thanks, let me check my records. Stay tuned!
LikeLike
Hi, I have added 2 more videos that cover those aspects. Somehow they got lost in the shuffle. Thanks again for pointing that out!
LikeLike
Beautiful! Love this little project!
LikeLike
I love this! Was reading on FB and somehow lost the link. So happy I could find the original tutorial you posted. Thank you. 🙂
LikeLike
You are most welcome!
LikeLike